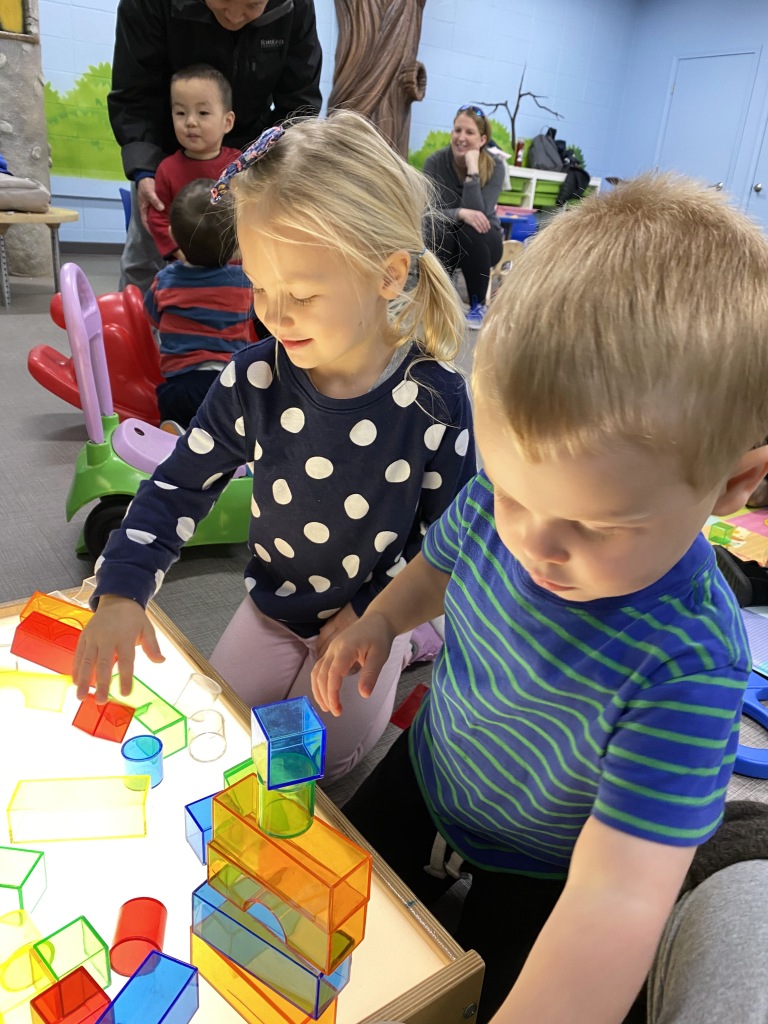
Yesterday I took the kids to a local Toddler Time. At one point the teacher brought out a light table and colorful translucent blocks. I loved it!
I mean, the kids loved it!
{this is not our DIY table}
They really did though. The bright light instantly made building with blocks even more special.
PS: My kids are ages 4 and 14 months. They were both into the table and blocks.
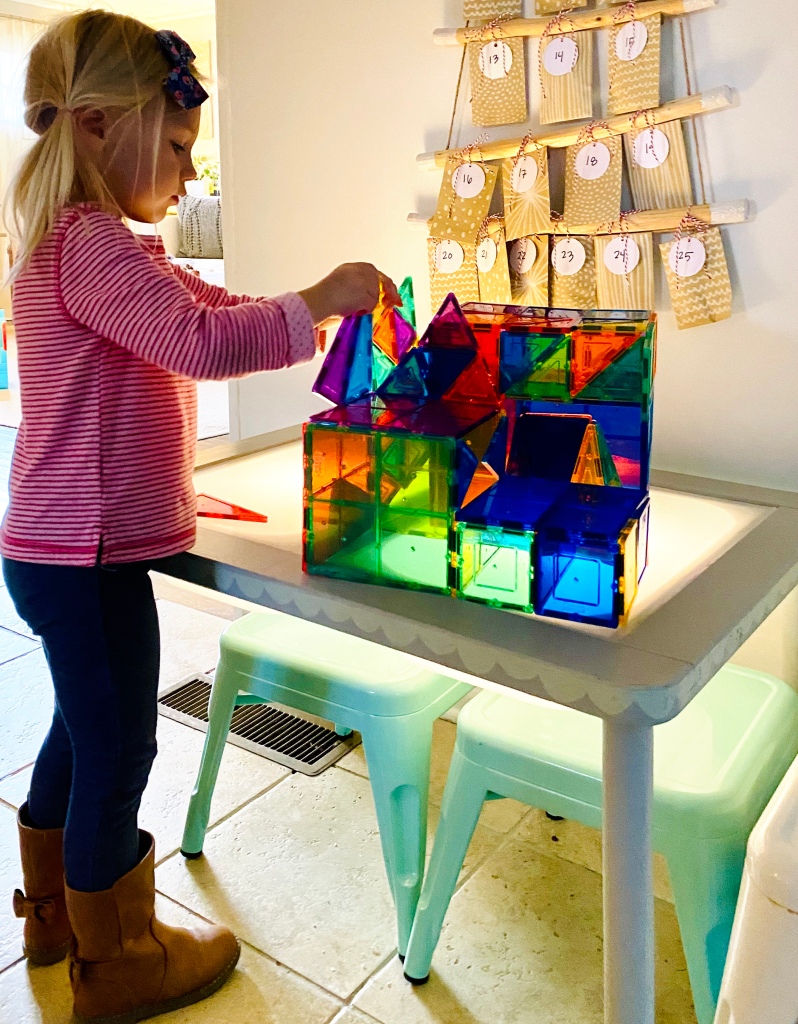
My friend and I got to thinking about how we could create our own light table for home using our Picasso Tiles and an IKEA kid’s table that we both own.
This morning, I went to Lowe’s to make it happen! And it was easyyyyyy.
WHAT YOU NEED:
- IKEA Flisat Kid’s Table $50
We gave this table to MJ when she turned one. It’s been a total hit ever since – 3 years this Saturday! The top can easily be removed {by her!} to reveal two bins that you can use for storage {legos, craft supplies, paper, blocks, etc}, sensory activities {rice, beans, oobleck, dough, etc}, and water play. I painted ours with deck waterproof paint so we could use it outdoors but the paint hasn’t held up well {it didn’t on the deck either…}. I wish I had just sealed it with a clear waterproof sealant, so do that! - 2 Trofast Bins for the Flisat Table. $3 per bin.
The 2 we have are linked. But I’ve seen other set-ups incorporating this size that look fun too. - 1-2 Sheets of Extra Strength Acrylic. I used 2 sheets of size 18″ x 24″. $14 each.
Size variety seemed limited at my store. Lowes and Home Depot will cut them to fit for you, for free! Bring the Flisat tops in as a measurement guide. Most Important Part Ever….. LEAVE THE FILM ON THE ACRYLIC, this will give the frosted look that is necessary! - 2-4 Large Battery-Powered Tap Lights. $6 each.
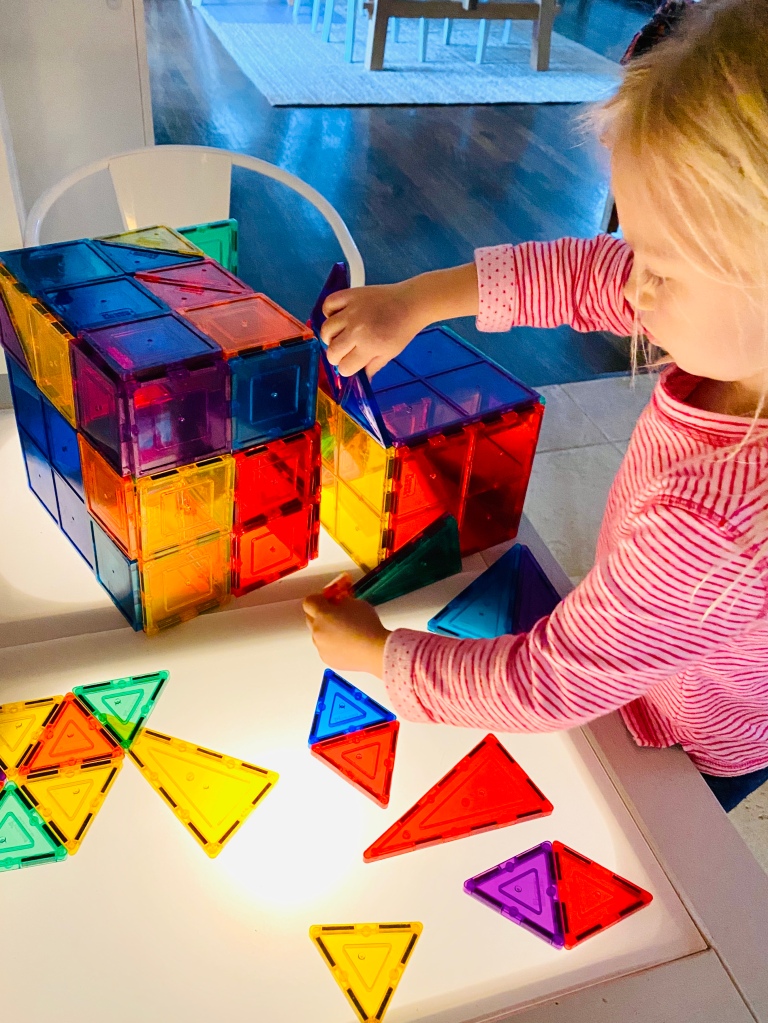
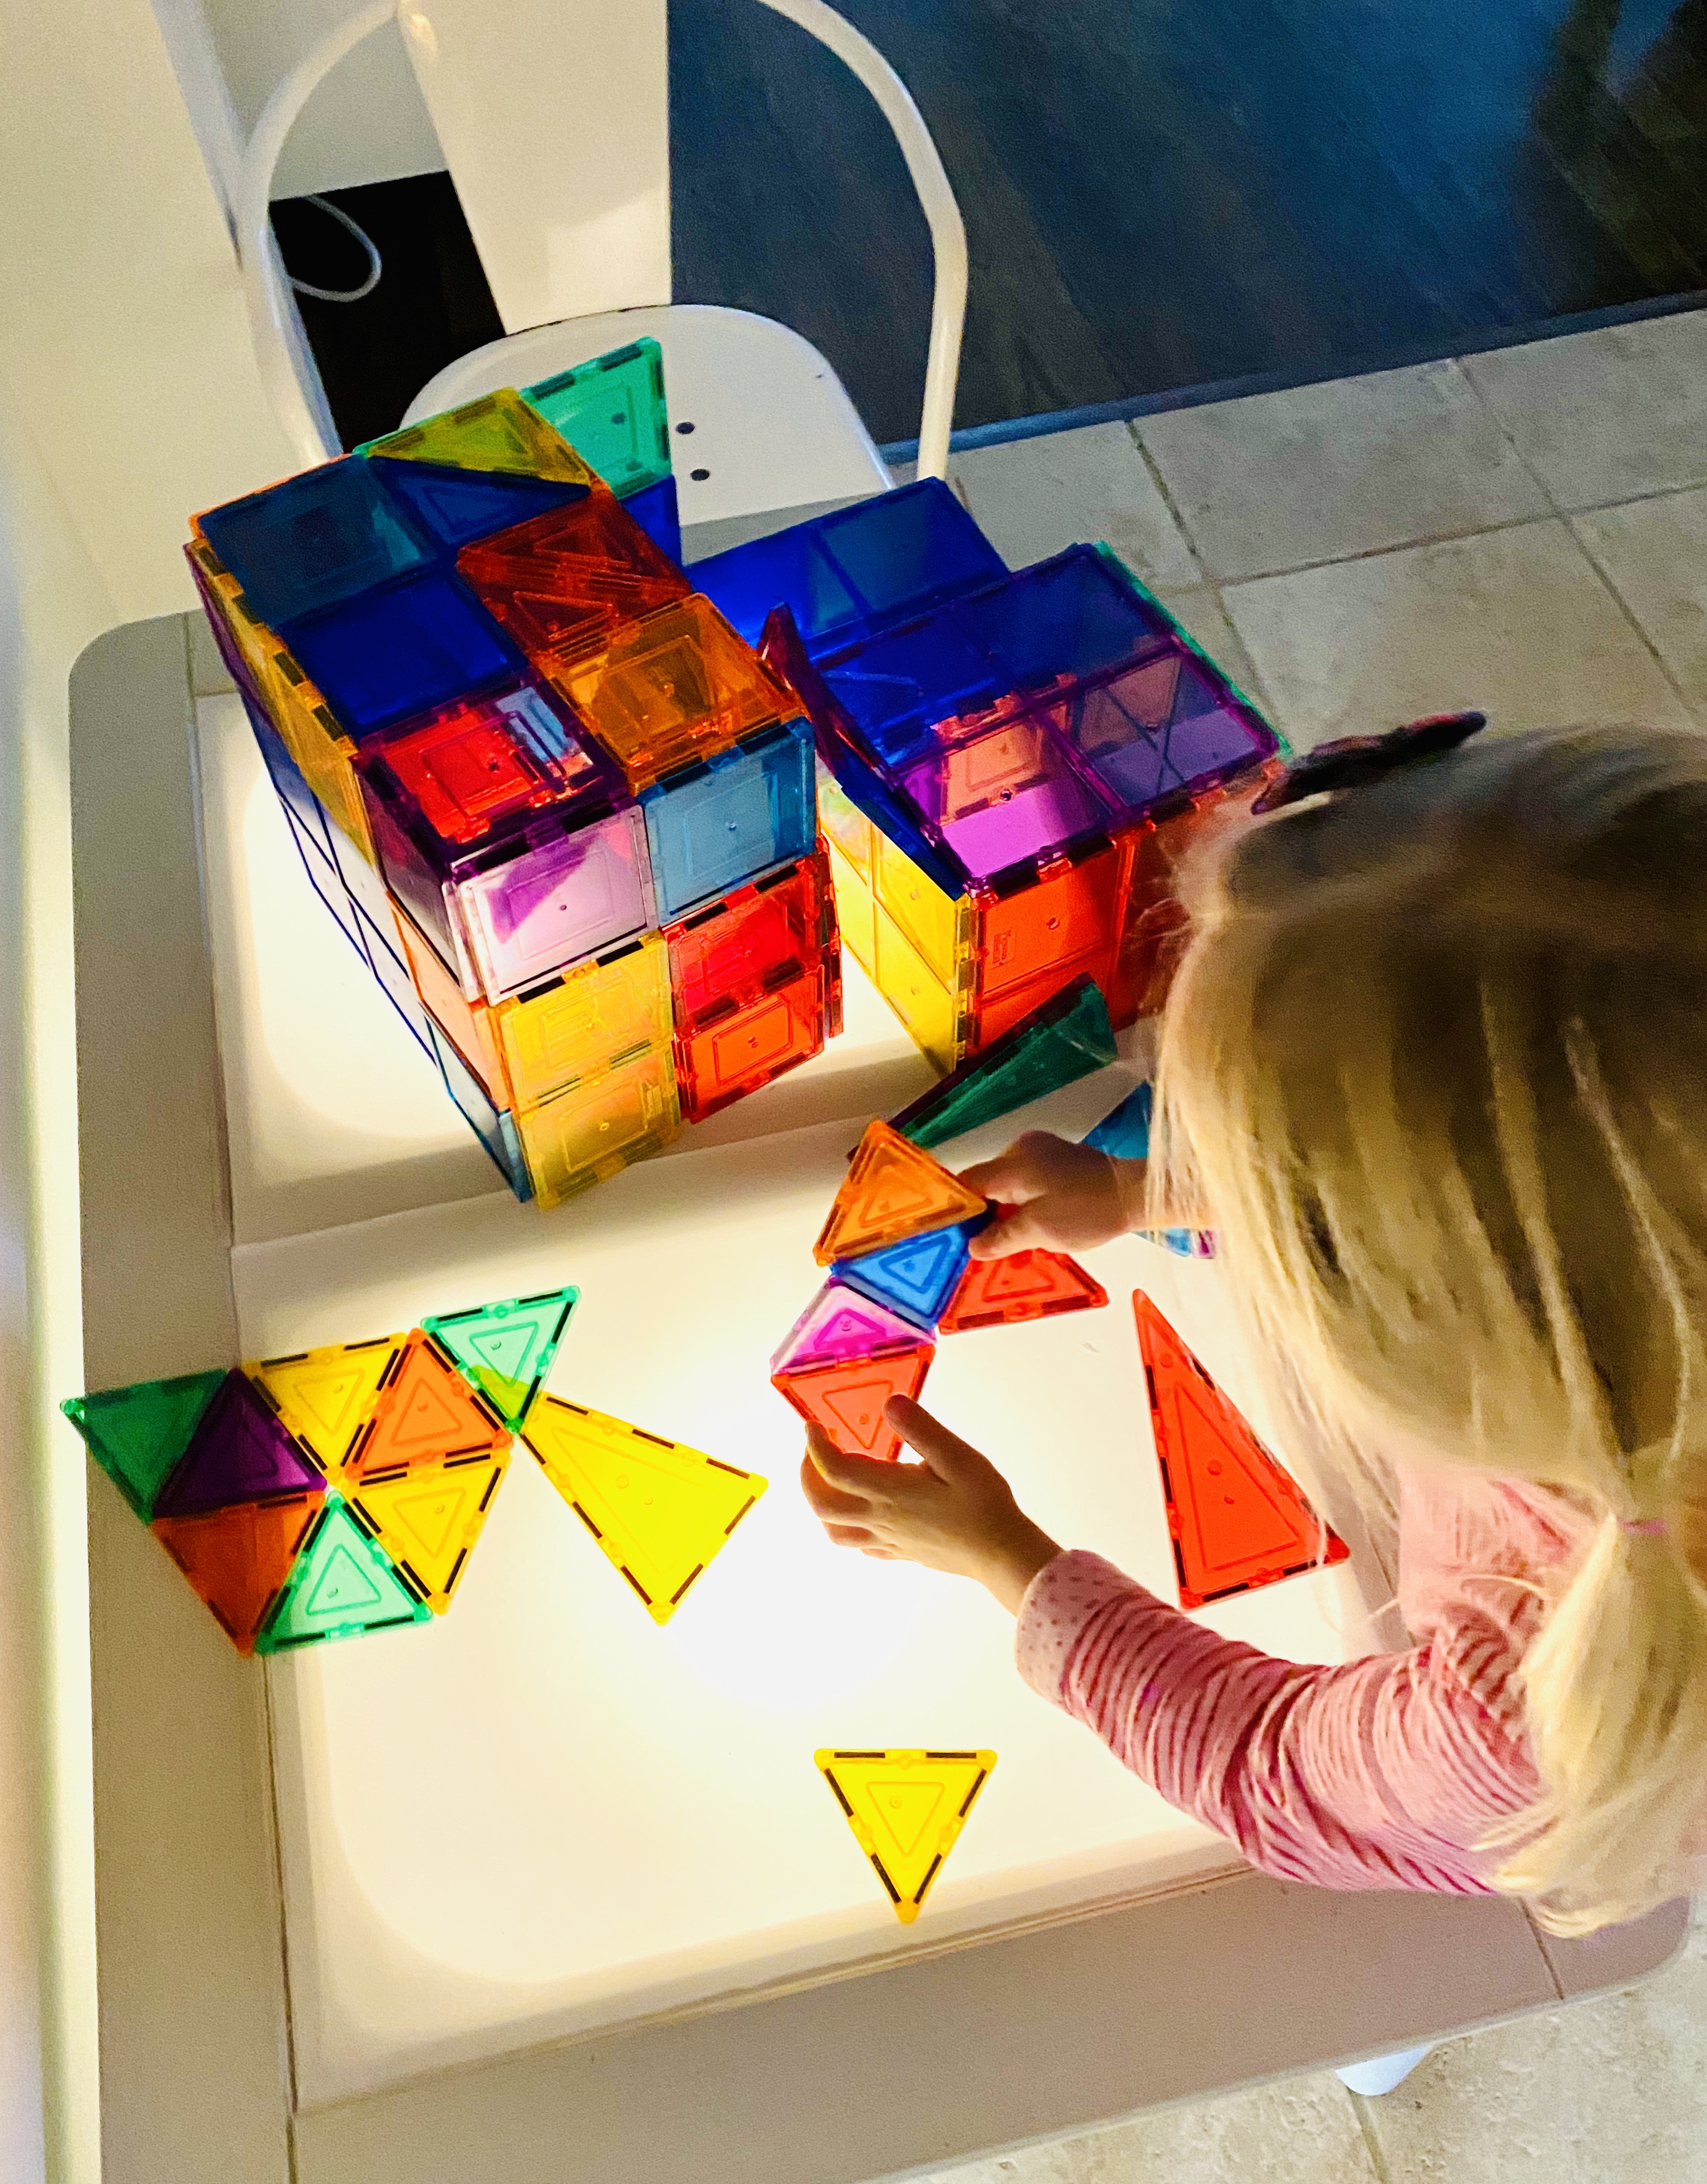
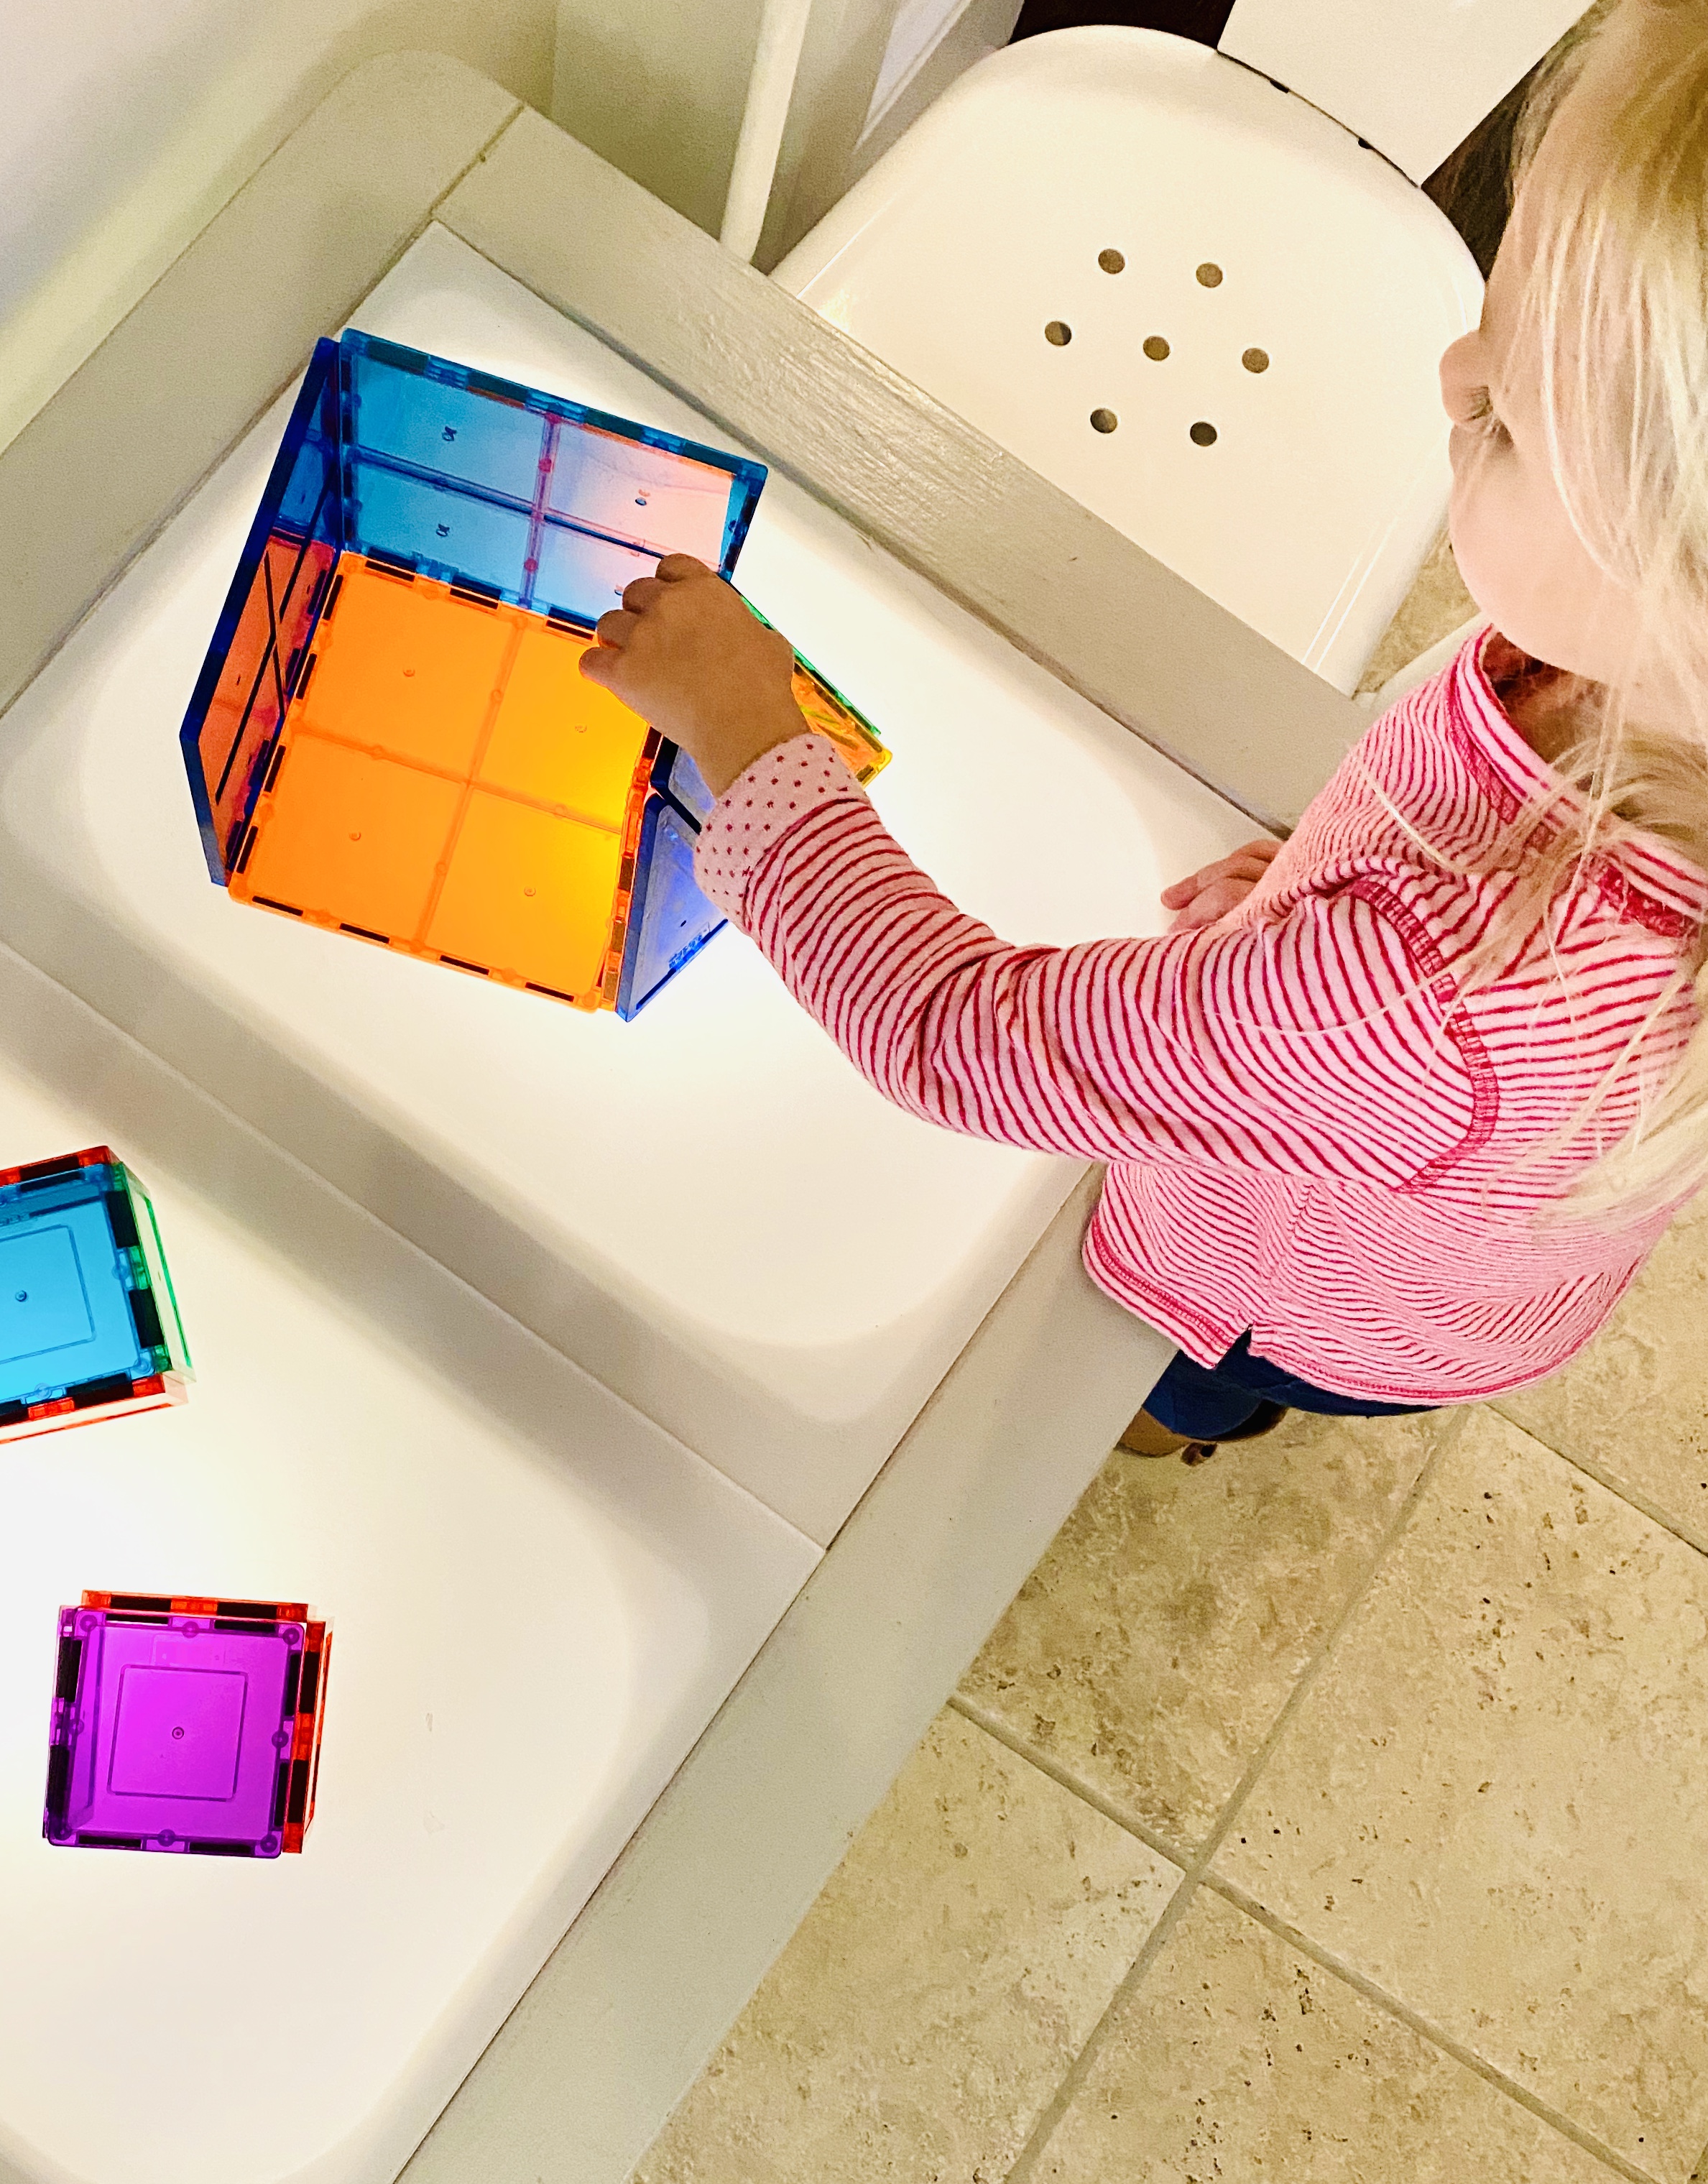
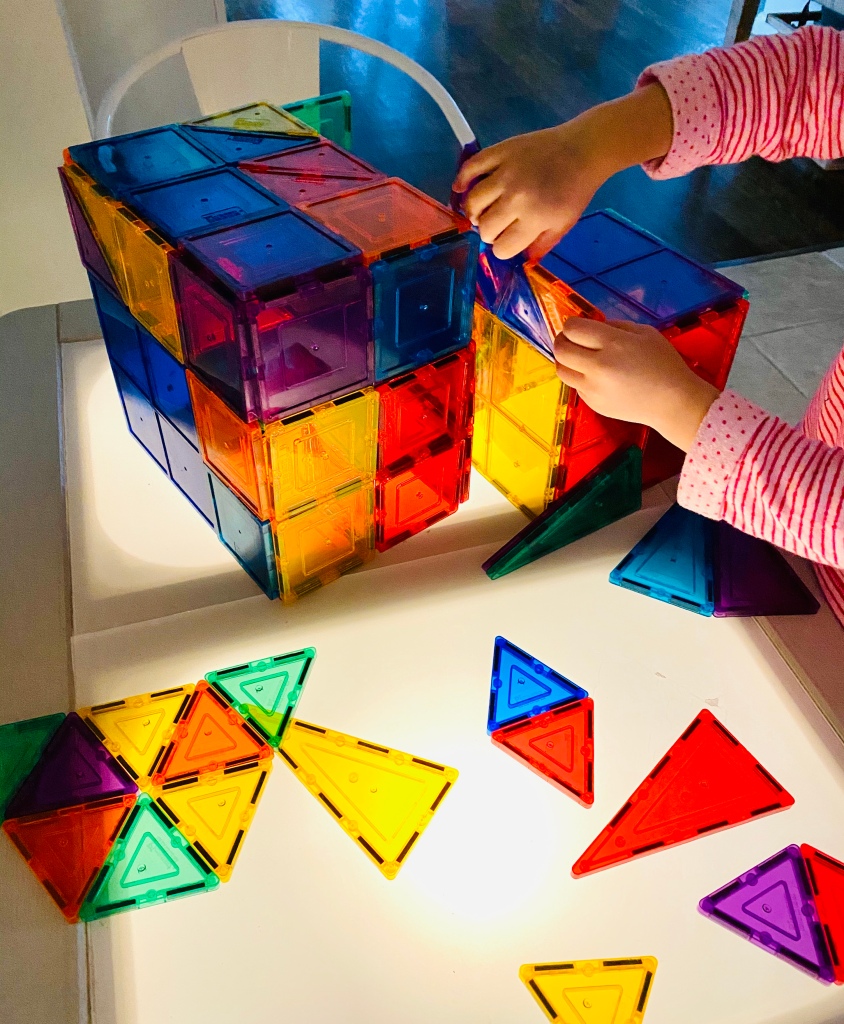
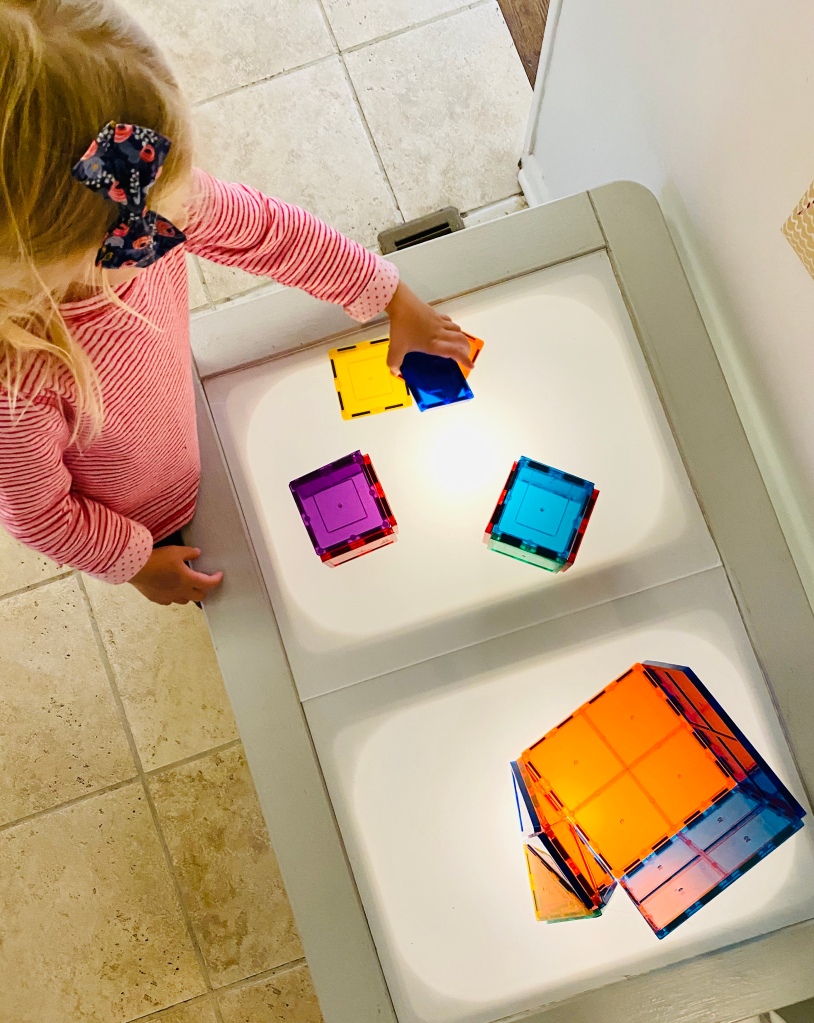
Right now we are using one per bin, but I just bought 2 more because it’ll look even better!! They each need 4 AA batteries. - Any translucent toy will be fun. We are using a set of 100 Picasso Tiles. They are so very great and we are hoping to add to our collection this Christmas! Especially since baby brother is now in on the fun.
HOW TO ASSEMBLE:
- Remove the Flisat Tops
- Add tap lights {turned on}
- Use your sheets of acrylic as the table tops. Remember to keep the protective film on the acrylic! That is how you get the frosted look! Do not remove it!
- Done!
Note: I probably won’t let my kids ‘install’ the acrylic sheets on their own because the edges and corners seem like they could be sharp.However, the edges are completely covered once installed. I’m wondering if I could sand them to smooth them out, probably. But I still will leave Step 3 to me.
Let me know if you make one of your own!
Also, if you have this IKEA Flisat table, what are some unique ways that you like to use it? I just love this thing and know the possibilities are probably endless!
Thank you for reading,
Amanda Macy Hall

Any chance you could link the Extra Strength Acrylic you used?
LikeLike
Amanda, Mike and I are going to make one. Are you still happy with it?
LikeLike
Yes! Absolutely! Can’t wait to see yours! We did end up adding lights so that there are two in each container.
LikeLike
LOVE it!! And love that you did all the work so now I can just follow the tutorial! 😉 think you do 1 sheet of plexi for the whole table? Or have you liked that it’s two? Probably better to store two small pieces rather than the one large!
LikeLike
Haha! 🙂 Yes, I wanted just one sheet but it wasn’t possible with what the store had in stock. And I had zero patience to wait, ha. The 2 sheets have been just fine though!!!
LikeLike